Quickstart
In this guide you'll learn the fundamentals of the platform and how to deploy your first site.
Creating a new site
Sites on Magelify are based on an application/framework template, which takes care of provisioning the required components and services for us (the stack). For the purpose of this tutorial we'll deploy a Wordpress site, but these principles applies to any kind of site.
Navigate to your Magelify Dashboard and click on Create a new site to bring up the new site dialog.
Choose Create new Wordpress site and give the new site a descriptive name. The name is used to generate a unique ID and temporary URL for the site.
Note: If your account is part of an organization you can choose whether to add the site to the organization or under your personal account. This mainly affects how you're billed and whether other team members will be added as collaborators to the site.
Fill in the rest of the information such as the Wordpress site title and admin user. You can choose Skip installation if you already have a site you want to migrate, otherwise the platform will install the latest version of Wordpress.
At the last step add your billing information or proceed with the free trial if you're eligible.
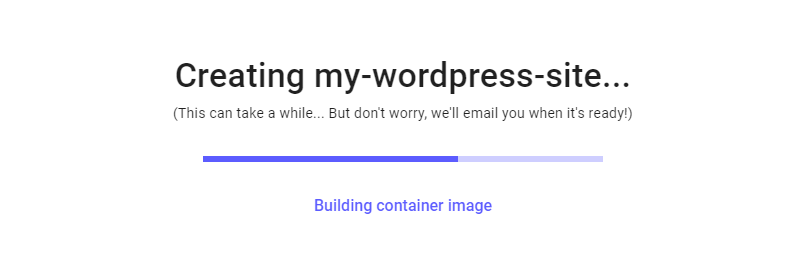
Magelify is now spinning up the required services and configuring the environment for Wordpress. Once the site is ready you'll be taken to the site dashboard where you'll find the information necessary to access the site.
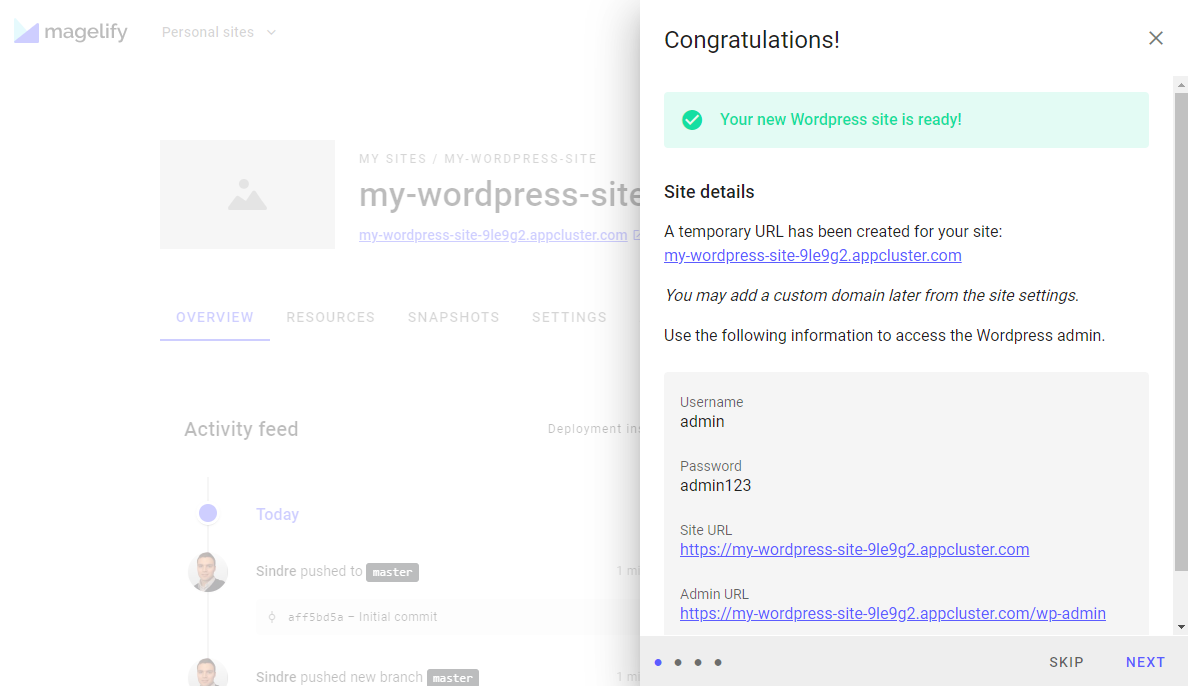
At this point you may log into the Wordpress Admin interface and start adding some content.
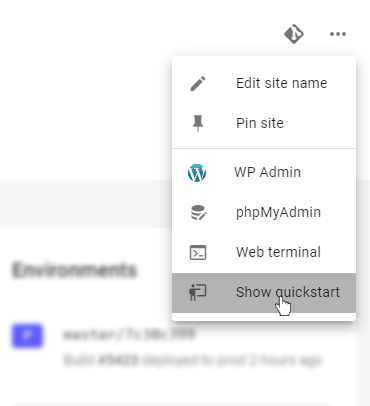
Tip: You may open the Site Quickstart from the dropdown menu in the top right at anytime
The Magelify Dashboard
The dashboard provides useful insight and tools you need to manage every aspect of your site. It consists of a top header section and 6 individual tabs which will be explained in more detail below.
Header section
The top header shows important information about the site such as its name, the default URL, a screenshot, and also provides access to a quick actions menu. If you've enabled Staging you'll also be able to switch between the different environments using a dropdown menu.
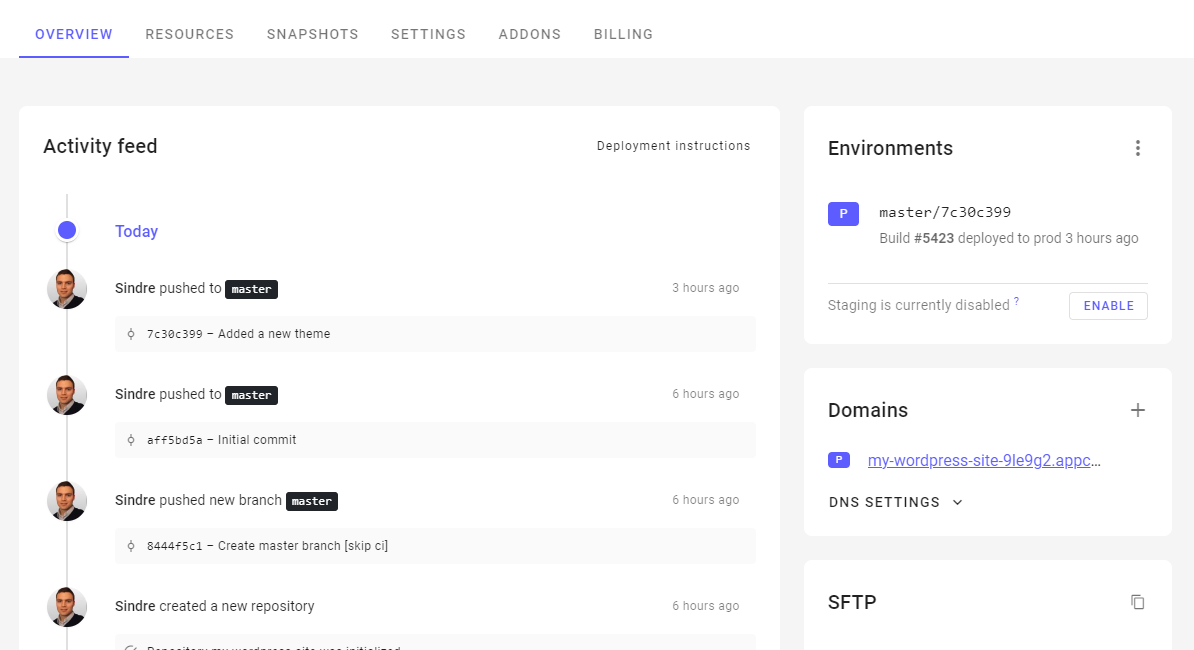
Overview
The left column shows recent activity such as Git commits and other events. On the right you'll find information such as when the site was last deployed, active environments, domain settings, SFTP access details and status of each service.
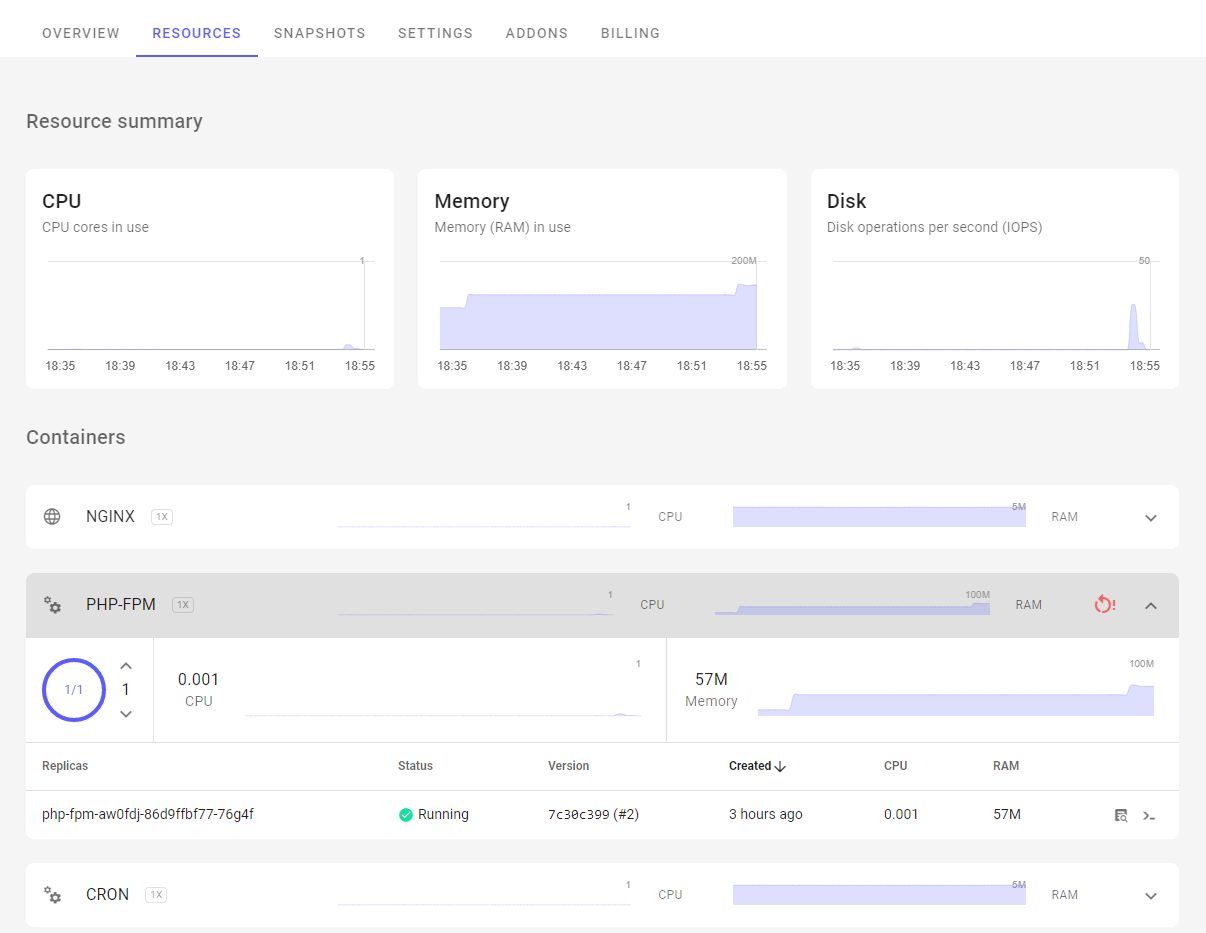
Resources
This section shows an overview of your site's current CPU, RAM and disk/IO usage. You may drill further into the individual resource usage of each container/service to get more information about the running instances. From here you can also access the logs and the web terminal if it's supported by the container.
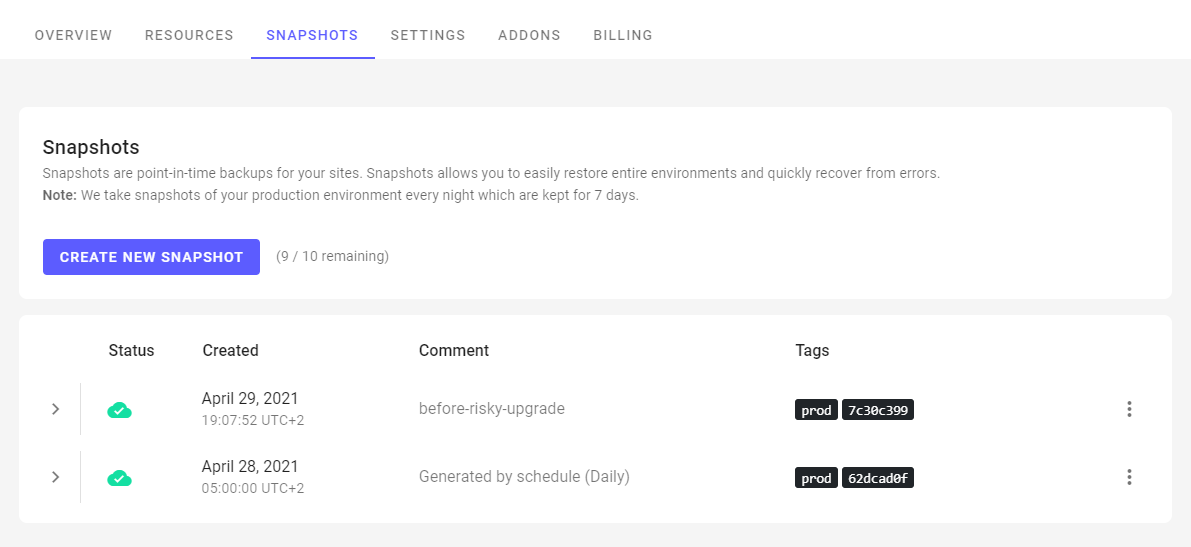
Snapshots
Magelify automatically creates a point-in-time snapshot of your production environment every night. Depending on your subscription plan, you may also be able to create manual snapshots from this tab. You may restore your site to a previous snapshot with the click of a button.
Settings
Various aspects of your site is managed from the Settings tab. Some settings are general while others are available only for certain application types.
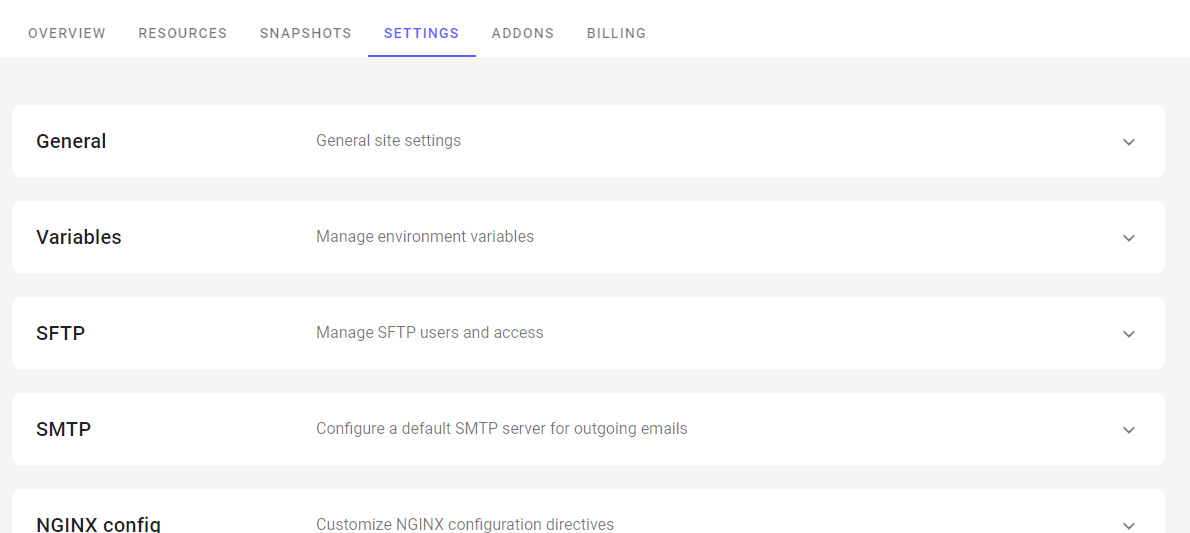
Here's an overview of the common settings:
General
Edit site name and tags. Tags allows for grouping and filtering when you're managing lots of sites.
Variables
Certain application types supports additional configuration through variables which are injected into the environment at runtime. Environment variables allows you change the behavior of an application without changing the code or re-deploying the app. Refer to the specific applications' documentation for a list of supported variables.
SFTP
Magelify supports unified SFTP login where you can simply use your Magelify username/email and your SSH key or a personal access token to connect to any site you have access to. If, however, you need to grant an external user access to a particular site you can create additional SFTP users.
SMTP
Magelify doesn't include a built-in mail exchange service. That means in order to send emails from our platform you'll either have to use an external mail service provider or configure your own SMTP server. To make the configuration easier we allow you to configure a default SMTP server in the site settings which acts as a wrapper around the sendmail utility. This simplifies the integration with 3. party services and ensures that the commonly used PHP mail() function works out of the box.
Additional settings
Depending on your needs, you may want to configure advanced settings for your site. Through this section you can customize the NGINX config, add cron jobs (scheduled tasks), configure external cloud backups and more. There are also various settings applicable only to certain application types, such as the ability to set up multi-store configurations for Magento ecommerce sites.
Refer to the relevant sections for more details.
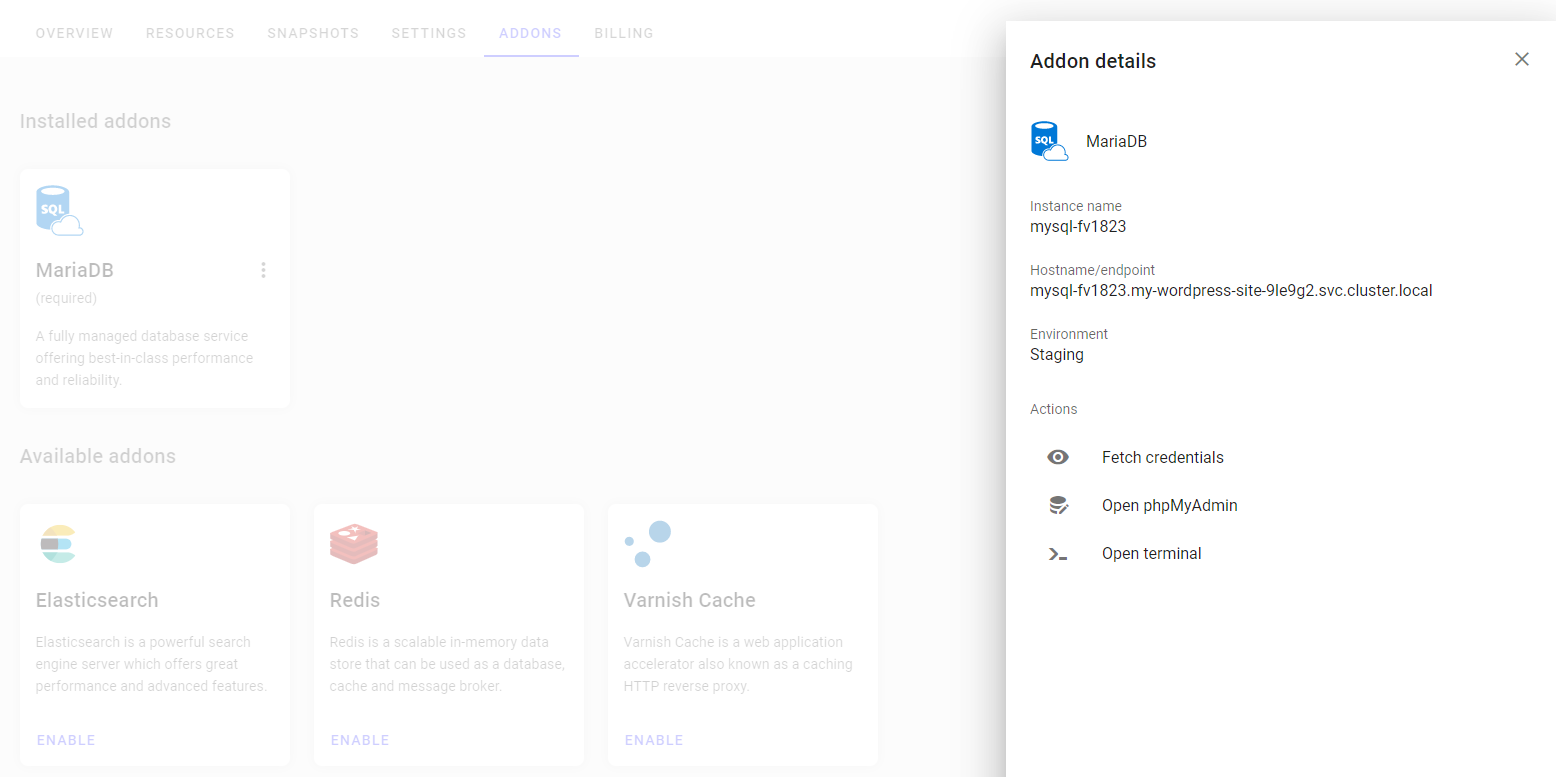
Addons
This is where you'll manage various addon services, such as the database, Elasticsearch, Redis and Varnish cache. Not every addon may be available for your site depending on the template and subscription plan.
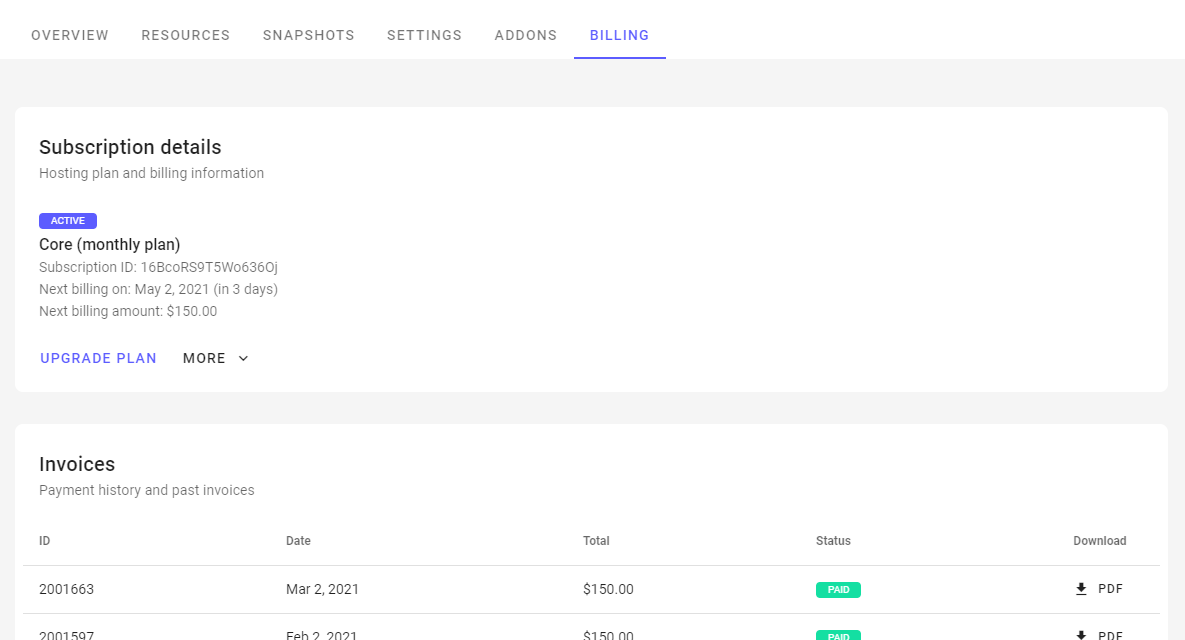
Billing
The billing section shows details about your subscription and past invoice history.
Deployment workflow
To customize our site we probably want to change the default theme and maybe install a few plugins for extra functionality.
One important difference between Magelify and traditional hosting services is that your Git repository is always the source of truth. That means all code and file changes must be committed to Git.
You should not make changes directly to the filesystem of a running container as these changes won't be preserved during a restart or re-deploy. Neither will they be synchronized to other replicas in case you've scaled out your deployment across multiple instances.
When you push to your remote Git repository, our CI/CD pipeline automatically builds a new container image and deploys it as a new revision of your site. This ensures every deploy is atomic and can easily be rolled back in case of an issue.
The next section assumes that you have completed the account setup steps and:
- Installed Git
- Successfully set up authentication
Basic knowledge of Git is required.
Clone the repository
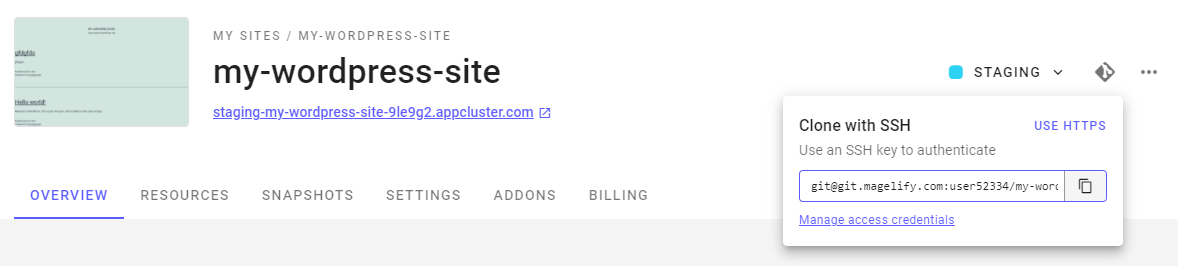
Before we can make any changes we first need to clone the Git repository.
cd ~/dev
git clone git@git.magelify.com:<username>/my-wordpress-site.git .
This downloads the files to your local workspace and adds Magelify as a remote.
Push to deploy
After you've made your changes, let's create a new commit and push it to the server:
cd my-wordpress-site
git add -A
git commit -m "A short description of your changes"
git push origin master
The git push triggers a new build and starts a rolling update of your site. This means that a new instance is started before tearing down the old version to ensure a zero-downtime deployment process. If the build fails for any reason the rollout will stop and your production environment will not be affected.
Note: the directory <repo-root>/.clustered contains system files required by the platform. Do not delete/modify this directory or any files underneath it.
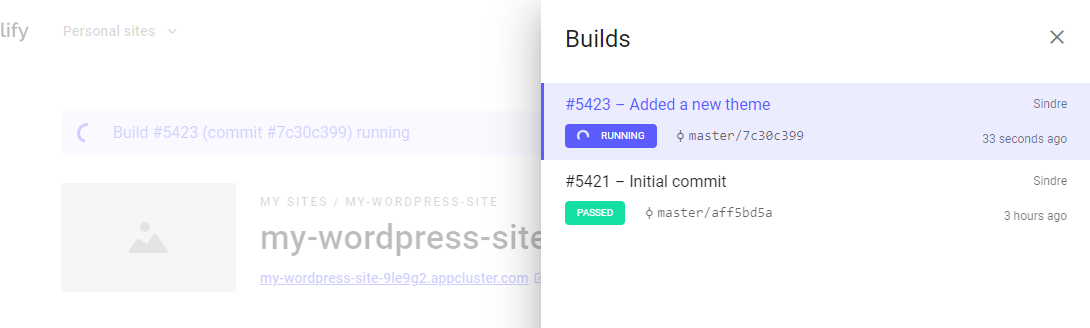
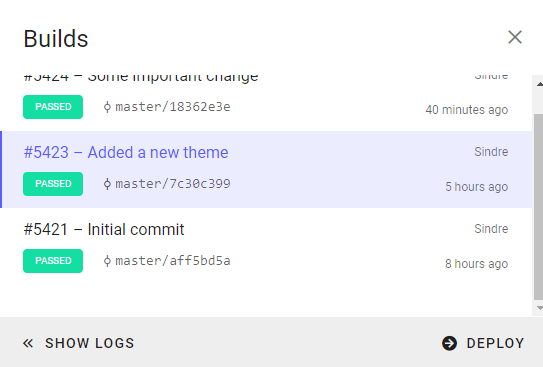
You can check the status of a build from the dashboard (click on an environment tag to bring up the Builds dialog). The version label on the deployment is taken from the Git commit reference (or tag name), which makes it easy to know exactly what is deployed where and when.
Staged rollouts
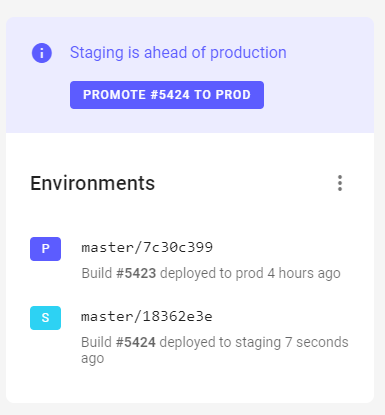
By default, Magelify updates your production environment every time you do a git push. If you've enabled the Staging feature, each new build will be deployed to the staging environment instead, and you need to manually promote the release from staging to production.
An alert will appear in the site dashboard when staging is running a different version than prod. Simply click on Promote to prod and the current build will be rolled out to your production environment. Since the container image is already built you can be sure that the exact same files gets deployed.
Rollbacks
Similarly, if you need to rollback to a previous build you can easily do that since we always keep a history of the last few deploys.
Dealing with persistent data
Despite a true cloud-native application shouldn't write to the local disk, widely used platforms such as Wordpress and Magento still relies on the local filesystem to store uploads, static files, cache, sessions, etc.
This presents some issues with stateless containers running inside a clustered environment. Containers can move around between nodes and scale out to multiple instances, which makes local storage infeasible.
To accommodate this, Magelify provides persistent storage volumes which stores data that must survive the lifecycle of a container. Persistent volumes automatically moves with the application and can be attached simultaneously to multiple container instances to support horizontal scaling of stateful workloads.
The Magelify site templates are pre-configured to store particular folders on persistent volumes as required by the application.
For example, Wordpress is configured to store persistent data at the following paths:
/var/www/html/wp-content/uploads
/var/www/html/wp-content/cache
You can use sftp, rsync or scp to transfer files to and from the persistent folders of a site. The connection details can be found in the Settings > SFTP section and on the overview tab of your site dashboard.
You should not include persistent folders in your Git repository as these files are excluded from the normal CI/CD build process.
Application config
Magelify abstracts away many of the tedious steps of configuring your web application. Configuration settings such as database credentials, caching, SSL termination, etc. is automated by the platform.
The app config file is generated dynamically based on the environment and made read-only as a security precaution. Environment specific settings such as database credentials, etc. are automatically populated to run out of the box on Magelify.
This means you should not commit wp-config.php (Wordpress) or app/etc/env.php (Magento) to your Git repository to prevent sensitive information from leaking.
The application config can be manipulated through the use of environment variables. A list of variables supported by each app framework can be found in the relevant documentation section.
Custom domains
For your convenience every site gets a unique Magelify URL. You'll likely want your site to be accessible through your own domain, though.
You can add custom domains through the dashboard. The domain will by default be protected by a free SSL/TLS certificate, or you may choose to upload your own certificate if you prefer.
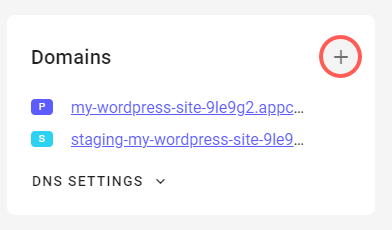
Click on DNS Settings to reveal the CNAME record you need to point the domain at in order to send traffic to Magelify.